Showing posts with label tutorial. Show all posts

3 July 2012

How to Cover/Line a {rectangular} Basket!

PLEASE CLICK TO BLOW-UP PIC!

So we all know that those lovely covered baskets are expensive!  I set out to make one of my own--you can buy many baskets for a much cheaper price, and the one in this tutorial is from the Dollar Tree!

You will end up cutting two pieces of fabric; I used the same colour for both layers.  If you chose a patterned fabric, be careful that the pattern ends up on the outside!  Also, make sure you iron out all of the kinks before measuring and cutting.

Start by figuring out all of the dimensions of your basket (see how I figured this out in the photo to at the top-right). You need to know:
  • the measurements for the bottom length and width
  • the measurements for the top length and width
  • the height of the basket
  • the measurement from the top edge around the bottom to the top edge on the opposite side for both the long (let's call this y) and the short sides (and this x) - see the picture up to the right
  • the amount of overlap you want over the top of the basket (we'll call this z)
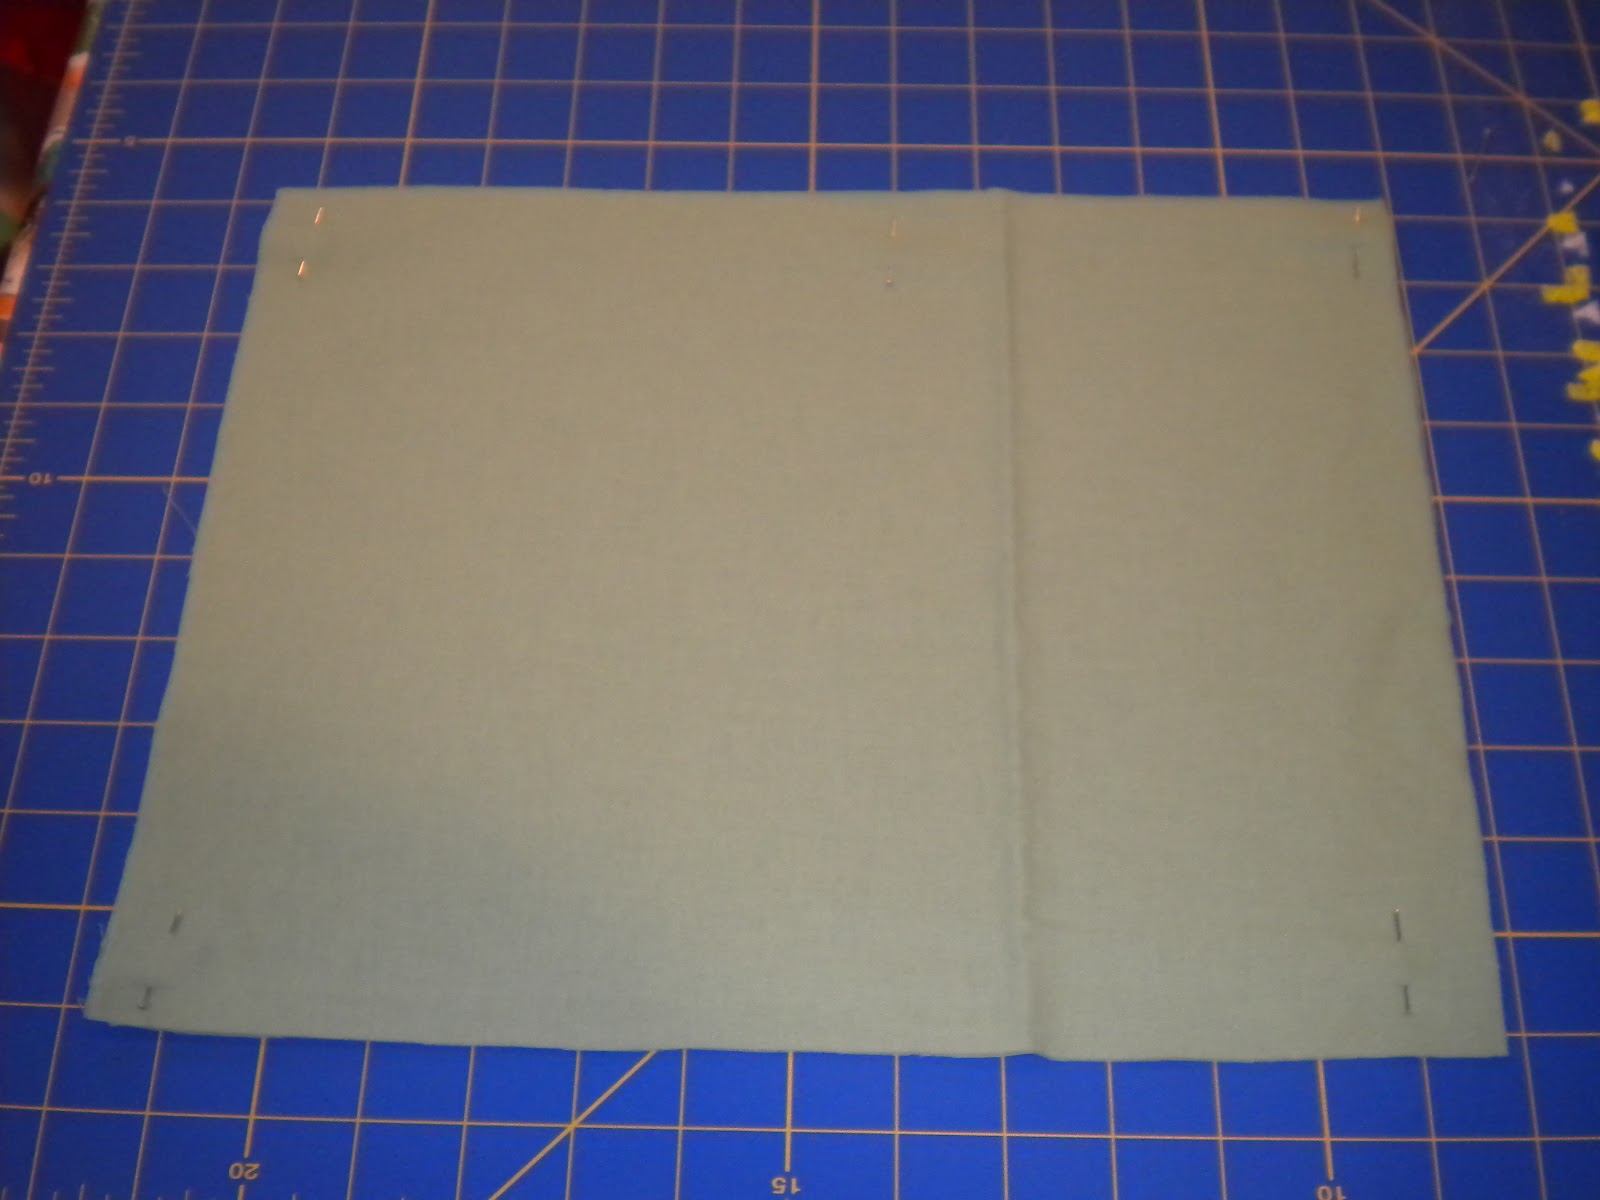
Cut your fabric into a rectangle that measures [x + 1/2" seam allowance + 2z] by [y + 1/2" seams + 2z] - cut the pieces at the same tine to keep them the same size.  Make sure they are pinned together really well!

The corners will need to be cut out; I basically cut out the coloured-in sections of my diagram.  Measure where the bottom section of the basket should line up.  Around the edges and z + 1/4" in, mark the top-of-the-basket measurements. (I wanted about 1/2" overhang, so I measured in 3/4")


I coloured the sections I cut off on the fabric too (this helps me too!) and, also, drew the seam allowance for the corners.  Now cut the corners out (below on left), pin the sides together to make the box corners (below on right), and sew up the corners (I used a straight stitch)... 
[if you wanted your liner to fit more snug around the edges, this would be the time to add elastic-cut it about 2" shorter than the parameter of the top of your basket and stretch it along as you sew]

 
Put the two "boxes" together inside out (above) and sew around the top leaving about 2/3 of one of the shorter sides open to turn it right-side-out.  Iron around the corners and top seam and straight stitch around the top to close the gap and give it a nice finished look.

Put it in the basket, turn down the top, and Viola! You just lined your basket!


15 June 2012

The Cloth Gift Bag

So, I have all of these scraps around, and one of the things I wanted to do was make gift bags. (the others here and there)

However, when I went to find ideas, all of the bags were drawstring! That doesn't work for everything; I wanted a bag that stands up and could better hold square/bigger/rectangular objects.  So, I made up a new design!


Making my Gift Bag

I first wanted to make a bag for the Kindle Cover I made for Father's Day and decided to make the bag 12" tall, 8" wide, and 3" deep.
So I cut 4 - 12"x8", 4-3"x12", and 2-3"x8" from my chosen fabric (make sure you iron first!) and 2-11.5"x7.5" and 1-2.5"x7.5" of Pellon Peltex (mine was fusible on one side; this will make the front & back and bottom stiff).
Next I fused the 11.5"x7.5" and 2.5"x7.5" Peltex pieces to their respective fabric pieces (12"x8" and 3"x8").  Make sure to follow the fusing instructions.  (If your interface isn't fusible, put a loose stitch around the edges to hold the sides together)  Stitch the non-fused sides together (I did a decorative stitch right down the middle instead of going around - you can see it in the picture of the inside-out bag). If you want to use decorative stitches (in a complementing colour!  I used light pink on the green) to add to the bag, now would be the time to add those.

Now you're ready to assemble!


If the bigger sides do not fit between the needle and inset side of you machine, you should start by sewing the sides together.  I started with the bottom.
Unless you want the seems on the outside (in which case you should go around with a pinking shear to prevent raveling), the bag will be constructed inside out.  Place the seems together and stitch it up - I used a straight stitch at 2.  When lining up the bottom and stiff sides, be sure the interface is as close as possible.
 

When you have all the seems sewn up, flip that bag right side out!

The interface may make it difficult, so go slowly to avoid bending the interface badly or loosing any of the seems.
If you want, you can check to see if you bag will stand now - mine had too small of a base to stand without the gift inside to give it some weight.


Now to finish up!


I wanted to keep the seem "open" on the top, so I went around the top with a pinking shear and then the same decorative stitch (in the same light pink with a blue threaded bobbin) I did down the side.  If you want, you can fold the cloth on top in or out on the bag and sew it down.
When the top is done, you need to make a place for the ribbon!  My machine has a handy button-hole maker, so I used that.  I put them about 2 inches from the top and 2 inches apart on the front and back.

Thread the ribbon of your choice through the holes and tie it up!  You could you a ribbon that brings out your decorative stitches like I show on the top picture or a different complementing colour.  Bags are reusable, so for my father's day gift I used a gold coloured ribbon. (it's all wrapped up in the picture, now just a place to hide it until Sunday...)

Let me know if you have any questions :)


Congrats! You now have a bag!


Making a Kindle Cover

Father's Day Gift! (don't let him see!!!)  My mom got a Kindle for my step-dad for Christmas, and he has yet to protect it...so I got to it and made a cover!

I was looking for a book-type design, but nothing I found completely suited my fancy.  I got my final ideas from Dixie Mango (here and here) and did a lil combo.


Things I changed from the tutorials: snap instead of velcro, I put 1" elastic in the triangle corners (which I stretched when sewing in to give a lil extra holding grip).
Things I used: interfacing (soft for cushioning and sturdy for support), the Kindle holder but I enlarged the corner fabric, I also gave the cover an outline of book-binding.

Things to keep in mind: put the soft interfacing closest to the device and the sturdy stuff on the outside, make sure to measure your device (this kindle is approx. 4.75" x 6.75" x .35") and keep it handy as you work to double check all the fittings, and you can change the design to hold an number of technological devices!

You can sometimes find my creations (and sometimes my sister's art) for sale as well as request items here: http://www.etsy.com/shop/stuffbychrissy

13 June 2012

TO COME: cloth gift bag tutorial!!

why, yes, this is the gift bag i put that kindle cover in :)

Tutorial

Top 5 Viewed Posts - Last Month