Showing posts with label DIY. Show all posts

22 November 2014

Working on Xmas Gifts (edited)

here is a wonderful hat I found - I am making a spin-off for Oma!

I have a few other things in the mix too!

Currently: 
  • I've designed a neck warmer (by request) for my step-dad that's ALMOST done - I think I have 3-4 rows left...we'll see.  I've written it all down, so it should be reproducible if you're looking for one too!
  • These are based off a pattern I found HERE
  • AND I am making little stockings for my Sunday School class - stick some candy canes and other long skinny objects in 'em and we're good to go!
Need to Do/Find:
  • A scarf pattern for Opa? . . . maybe I'll make him a neck warmer too...
  • Something for Mutti
  • ? Maybe something for my sister (but she's got A LOT of things I've made her already...) - she's getting clothing with my hard work put into fixing/altering it

And Done:
(C)2014 CMisso
  • A Hat for my step-Grandma based of Hat No. 35 here (there are 35 other hats to try from the 1970s!)
  • I've designed a neck warmer (by request) for my step-dad is DONE 

(MORE PICTURES TO COME! :) maybe in a new post...)

19 September 2014

World Toliet Day & a TP Scarf Pattern

HEY HEY HEY

I've got a wonderful friend living in London who has an AMAZING little business that she started - The London Loo Tours.  Yep, that's right, she takes you on tours of toilets.

Anyways, World Toilet Day is fast approaching, and we've designed some patterns for you to make your very own Toilet Paper Scarf!!  See her page here for a knitting (designed by the Loo Lady herself) and crocheting pattern (designed by yours truly).

You're gonna get right on it!!

16 August 2014

Amigurumi

I made a giraffe!!!  (By special request of course!)


Have many other patterns to try, but right now I need to start thinking about staying warm this winter...


Again, special requests are generally granted at my Etsy Shop!

1 August 2014

More Hats

Hey-Ya

I made even MORE hats now...they are just so easy and everyone likes hats right?

Good News for you...they're available in my Etsy shop for special request!  Send me a message on Etsy to get yours started!


7 July 2014

Remember that Frog?

I FINISHED HIM!!!!
 
I'm contemplating giving him a bow tie or something...

31 May 2014

Crochet Hats...

I've made SEVERAL hats now...I put that poor frog by the wayside for a bit.

I have made 4 versions of this hat with various tops, no poof, various colours, etc.!Pattern originally from CrochetMe

3 March 2014

I STARTED CROCHET

today...i started crochet

i picked the worst first project (a stuffed frog for those who are wondering)

BUT! Challenge Accepted!  I have a long car ride to figure it out!

10 July 2013

YAY! Stuff is in the Shop!

...and there's more to come! Angie hasn't finished much yet, so there are only hair accessories (and one, and the only one ever, that Angie made!)

Here's the link to the shop: https://www.etsy.com/shop/stuffbychrissy

11 December 2012

Craft for Christmas: Glass Ornaments

**Sorry no pictures yet!**
Looking for last minute crafty ideas for Christmas gifts with a little personal touch?  How about these...
[Pic]

Needed Materials:
  • Glass Ornaments - at least 3" in diameter
  • Ribbons - plastic and cloth
  • Wrapping paper
  • Music strips or Old book pages
  • Tacky Glue
  • Scissors
  • Glitter (optional)

All Inside:
  1. Remove the top of the ornament
  2. Cut ribbons desired, music/book strips, wrapping paper strips, etc. - strips should be 1/4-1/2" wide and 6-10" long, depending on how much overlap you want, and ribbons varying lengths but staying under 1/2" wide
  3. Curl ribbons with scissor (not necessarily all of them) and tie them together with a small (3-4") ribbon at the top (I made my ribbons long enough to fold in half and tie in the middle)
  4. Gently fold some of the paper pieces in half and put them in the ball to cover the bottom
  5. Stuff ribbons inside the ornament; you can put some loose ribbons in too, but in order to suspend them, they need to be attached to the top
  6. Slip remaining paper strips between ribbon and glass in the arrangement desired
  7. Ribbons and paper will settle some, so don't place the strips too close together
  8. Add a bit of glitter for some sparkle on the bottom (it will stick to the ribbons/paper and glass sometimes, so if the ornament is shaken, it gets a new look!)
  9. Bring the tied ribbon piece across the ornament's hole, put the top back on (make sure it is tight), and trim the ribbon ends
  10. Tie decorative ribbon around the top if desired

Decorate the outside too:
  1. Remove the top of the ornament
  2. Measure the ribbon around the ornament and cut (be sure it will be long enough to get under the metal top of the ornament)
  3. If ribbons will cross, glue the spot with Tacky glue
  4. Line the crisscross up with the bottom and glue to the ornament
  5. Starting with the ribbon on top, glue the ribbon to the ball 1-2" at a time, flattening the ribbon as much as possible
  6. Fill the inside with the instructions above
  7. When attaching the top, spread the metal pieces out to fit the ribbon underneath, then tighten again.  You can add a ribbon around the top the help insure it will not flare out

*DO NOT use glue inside the ornament, it will cause it to cloud.

31 July 2012

Birthday Cookie Cake!

Oh YES!  I made one all by myself :)


if you want my recipe, let me know!

11 July 2012

Trying Crafts...

Here's a set of pictures for one of the crafts we have decided to do for camp while we prepped and tried it out!!!!
the stencil-cutter-extraordinaire!
 
they aren't on music paper, but we didn't want to waste any...
And they look nifty framed!

in a floating frame!!


We got the idea from here and edited it a bit for camp - music scrap-booking paper, tempra paint, sponge brushes...but they will make nice gifts for our music-y peeps :)

We are still looking for volunteers & campers!  If you'd like more information about camp, see this post!


3 July 2012

How to Cover/Line a {rectangular} Basket!

PLEASE CLICK TO BLOW-UP PIC!

So we all know that those lovely covered baskets are expensive!  I set out to make one of my own--you can buy many baskets for a much cheaper price, and the one in this tutorial is from the Dollar Tree!

You will end up cutting two pieces of fabric; I used the same colour for both layers.  If you chose a patterned fabric, be careful that the pattern ends up on the outside!  Also, make sure you iron out all of the kinks before measuring and cutting.

Start by figuring out all of the dimensions of your basket (see how I figured this out in the photo to at the top-right). You need to know:
  • the measurements for the bottom length and width
  • the measurements for the top length and width
  • the height of the basket
  • the measurement from the top edge around the bottom to the top edge on the opposite side for both the long (let's call this y) and the short sides (and this x) - see the picture up to the right
  • the amount of overlap you want over the top of the basket (we'll call this z)
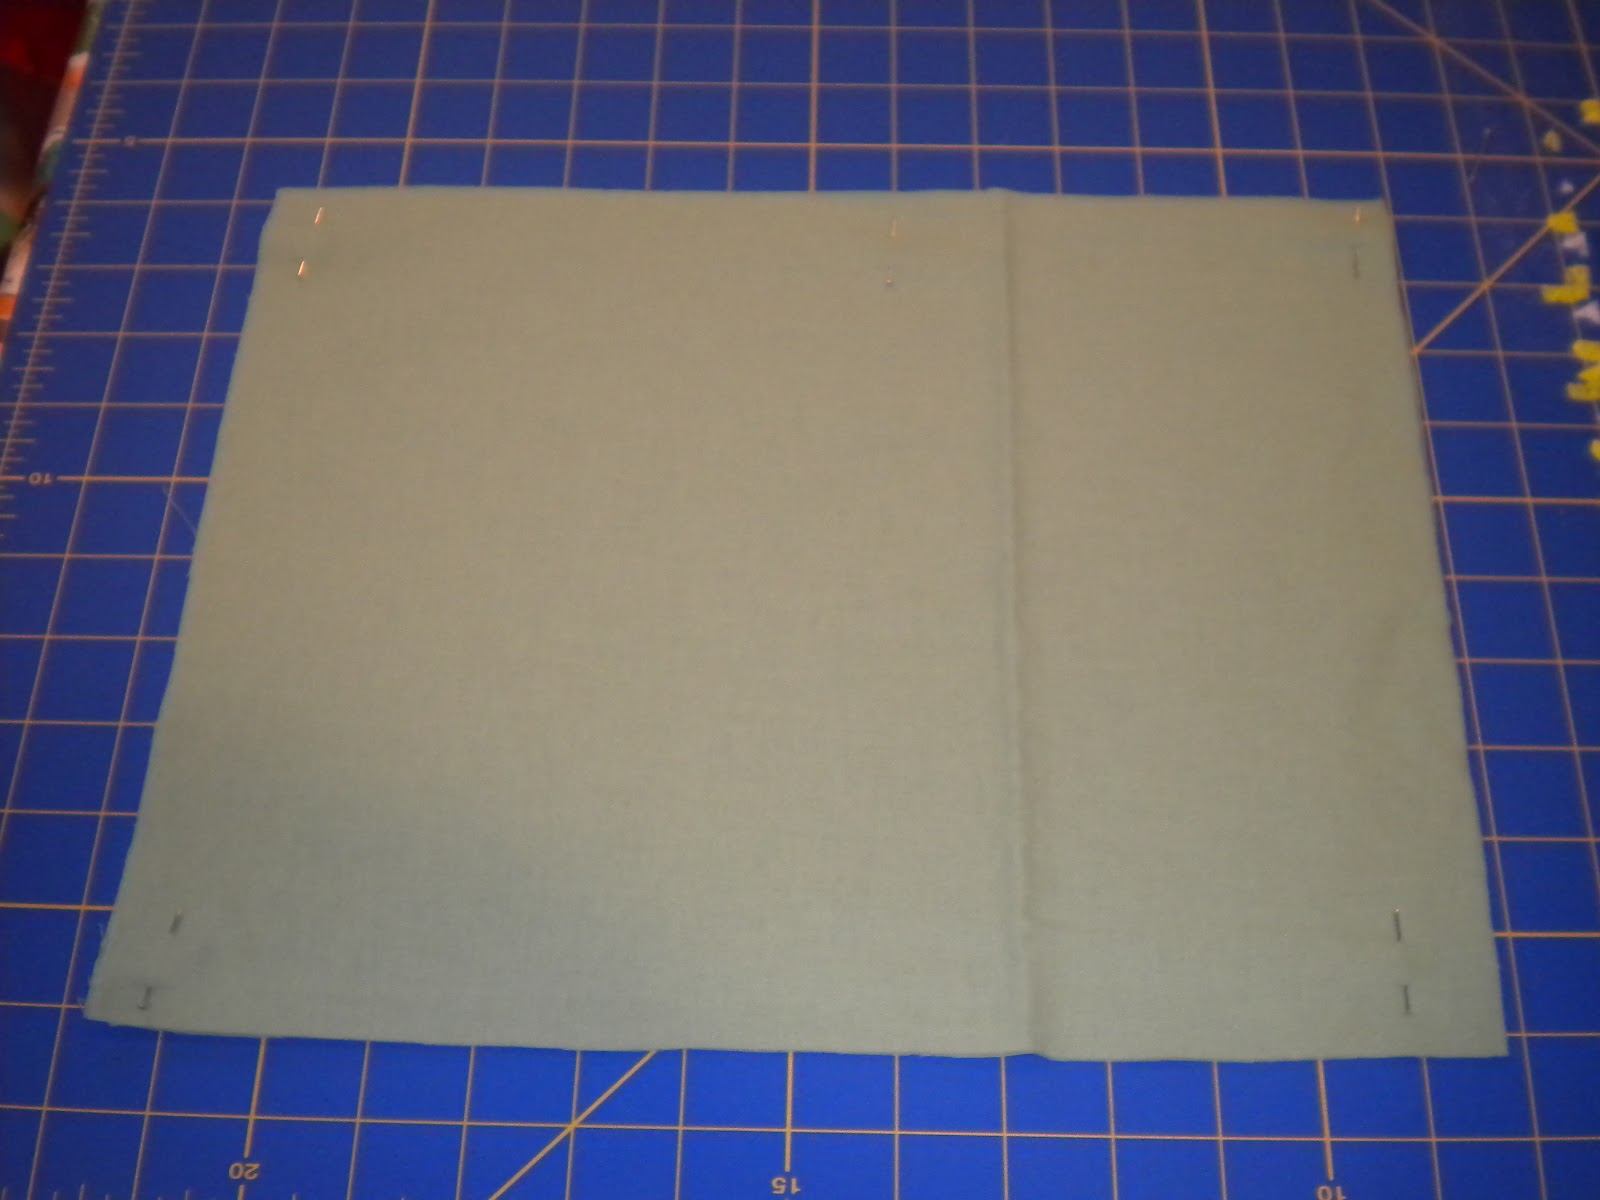
Cut your fabric into a rectangle that measures [x + 1/2" seam allowance + 2z] by [y + 1/2" seams + 2z] - cut the pieces at the same tine to keep them the same size.  Make sure they are pinned together really well!

The corners will need to be cut out; I basically cut out the coloured-in sections of my diagram.  Measure where the bottom section of the basket should line up.  Around the edges and z + 1/4" in, mark the top-of-the-basket measurements. (I wanted about 1/2" overhang, so I measured in 3/4")


I coloured the sections I cut off on the fabric too (this helps me too!) and, also, drew the seam allowance for the corners.  Now cut the corners out (below on left), pin the sides together to make the box corners (below on right), and sew up the corners (I used a straight stitch)... 
[if you wanted your liner to fit more snug around the edges, this would be the time to add elastic-cut it about 2" shorter than the parameter of the top of your basket and stretch it along as you sew]

 
Put the two "boxes" together inside out (above) and sew around the top leaving about 2/3 of one of the shorter sides open to turn it right-side-out.  Iron around the corners and top seam and straight stitch around the top to close the gap and give it a nice finished look.

Put it in the basket, turn down the top, and Viola! You just lined your basket!


27 June 2012

What to do at camp...?

Everything we do at camp we try to have revolve around music.  Sometimes it can be difficult!!

For Games: we have changed Red Light Green Light to Largo Presto - as the week goes on and kids learn more tempo markings, we add those in.  Duck Duck Goose/Grey Duck will probably become Bach Bach Beethoven.  But we can't play only these games everyday!!
CLICK TO ENLARGE
Crafts are easier for ideas, but harder because of the age spread!  At least one day of crafts will be devoted to props for each groups presentation.  Another day will be for the camp bandana or t-shirt (we haven't decided yet!).  The first day will be Paint the Music--we play a piece, have the kids listen with their eyes closed and then paint the shapes and colours, etc. they see.

And all of this has to fit our budget (although we have some leftover from last year)--so hopefully we'll find out soon if we have enough campers to start buying supplies!


If you are interested in camp (if you're in the Rochester area) visit our Facebook page or the Bethel CYF site.
Many of our plans that we got from the internets are on my Camp Board on Pintrest

15 June 2012

The Cloth Gift Bag

So, I have all of these scraps around, and one of the things I wanted to do was make gift bags. (the others here and there)

However, when I went to find ideas, all of the bags were drawstring! That doesn't work for everything; I wanted a bag that stands up and could better hold square/bigger/rectangular objects.  So, I made up a new design!


Making my Gift Bag

I first wanted to make a bag for the Kindle Cover I made for Father's Day and decided to make the bag 12" tall, 8" wide, and 3" deep.
So I cut 4 - 12"x8", 4-3"x12", and 2-3"x8" from my chosen fabric (make sure you iron first!) and 2-11.5"x7.5" and 1-2.5"x7.5" of Pellon Peltex (mine was fusible on one side; this will make the front & back and bottom stiff).
Next I fused the 11.5"x7.5" and 2.5"x7.5" Peltex pieces to their respective fabric pieces (12"x8" and 3"x8").  Make sure to follow the fusing instructions.  (If your interface isn't fusible, put a loose stitch around the edges to hold the sides together)  Stitch the non-fused sides together (I did a decorative stitch right down the middle instead of going around - you can see it in the picture of the inside-out bag). If you want to use decorative stitches (in a complementing colour!  I used light pink on the green) to add to the bag, now would be the time to add those.

Now you're ready to assemble!


If the bigger sides do not fit between the needle and inset side of you machine, you should start by sewing the sides together.  I started with the bottom.
Unless you want the seems on the outside (in which case you should go around with a pinking shear to prevent raveling), the bag will be constructed inside out.  Place the seems together and stitch it up - I used a straight stitch at 2.  When lining up the bottom and stiff sides, be sure the interface is as close as possible.
 

When you have all the seems sewn up, flip that bag right side out!

The interface may make it difficult, so go slowly to avoid bending the interface badly or loosing any of the seems.
If you want, you can check to see if you bag will stand now - mine had too small of a base to stand without the gift inside to give it some weight.


Now to finish up!


I wanted to keep the seem "open" on the top, so I went around the top with a pinking shear and then the same decorative stitch (in the same light pink with a blue threaded bobbin) I did down the side.  If you want, you can fold the cloth on top in or out on the bag and sew it down.
When the top is done, you need to make a place for the ribbon!  My machine has a handy button-hole maker, so I used that.  I put them about 2 inches from the top and 2 inches apart on the front and back.

Thread the ribbon of your choice through the holes and tie it up!  You could you a ribbon that brings out your decorative stitches like I show on the top picture or a different complementing colour.  Bags are reusable, so for my father's day gift I used a gold coloured ribbon. (it's all wrapped up in the picture, now just a place to hide it until Sunday...)

Let me know if you have any questions :)


Congrats! You now have a bag!


Top 5 Viewed Posts - Last Month