 |
| PLEASE CLICK TO BLOW-UP PIC! |

So we all know that those lovely covered baskets are expensive! I set out to make one of my own--you can buy many baskets for a much cheaper price, and the one in this tutorial is from the Dollar Tree!
 You will end up cutting two pieces of fabric; I used the same colour for both layers. If you chose a patterned fabric, be careful that the pattern ends up on the outside! Also, make sure you iron out all of the kinks before measuring and cutting.
Start by figuring out all of the dimensions of your basket (see how I figured this out in the photo to at the top-right). You need to know:
- the measurements for the bottom length and width
- the measurements for the top length and width
- the height of the basket
- the measurement from the top edge around the bottom to the top edge on the opposite side for both the long (let's call this y) and the short sides (and this x) - see the picture up to the right
- the amount of overlap you want over the top of the basket (we'll call this z)
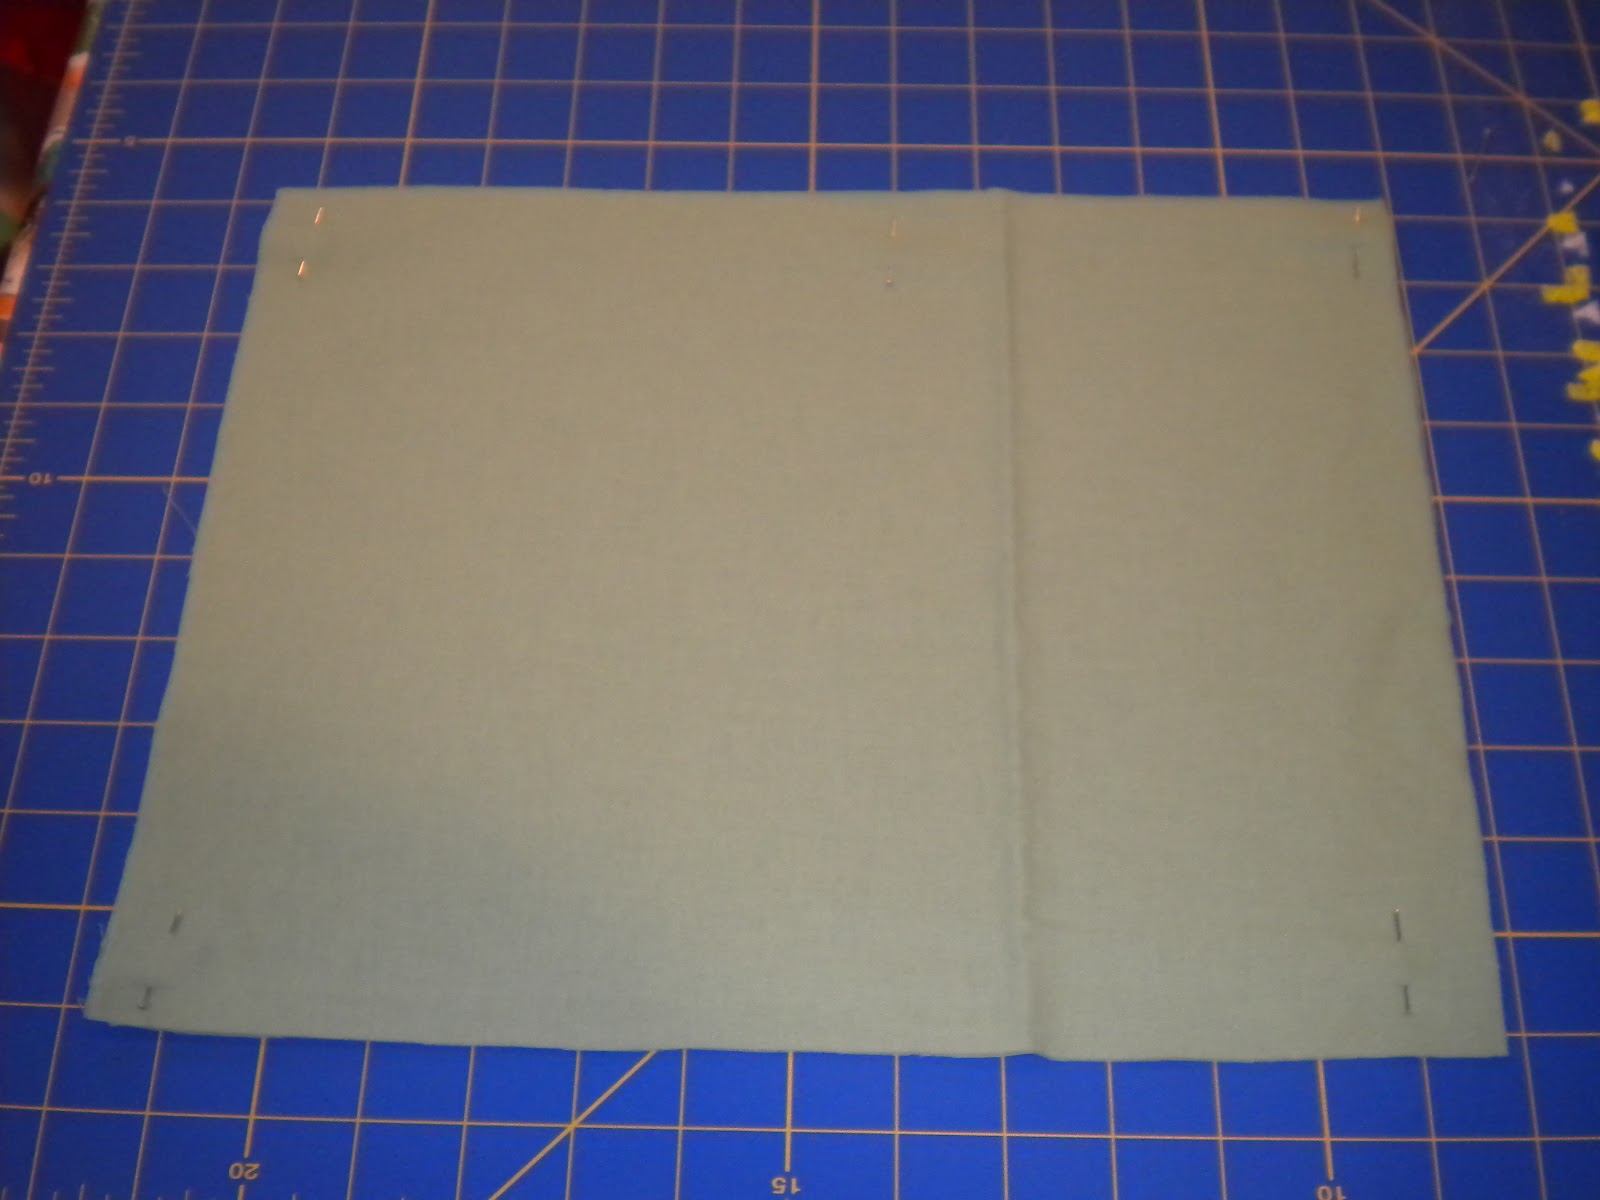
Cut your fabric into a rectangle that measures [x + 1/2" seam allowance + 2z] by [y + 1/2" seams + 2z] - cut the pieces at the same tine to keep them the same size. Make sure they are pinned together really well!
The corners will need to be cut out; I basically cut out the coloured-in sections of my diagram. Measure where the bottom section of the basket should line up. Around the edges and z + 1/4" in, mark the top-of-the-basket measurements. (I wanted about 1/2" overhang, so I measured in 3/4")


I coloured the sections I cut off on the fabric too (this helps me too!) and, also, drew the seam allowance for the corners. Now cut the corners out (below on left), pin the sides together to make the box corners (below on right), and sew up the corners (I used a straight stitch)...
[if you wanted your liner to fit more snug around the edges, this would be the time to add elastic-cut it about 2" shorter than the parameter of the top of your basket and stretch it along as you sew]


 Put the two "boxes" together inside out (above) and sew around the top leaving about 2/3 of one of the shorter sides open to turn it right-side-out. Iron around the corners and top seam and straight stitch around the top to close the gap and give it a nice finished look.
Put it in the basket, turn down the top, and Viola! You just lined your basket!


No comments:
Post a Comment
i am always interested in what you have to say! thanks for leaving your thoughts!